Back in February, I decided it would be a good idea to shiny hunt a Charmander in the generation 3 Pokémon games. I was wrong. It’s proven to be an exhausting labor of love with no end in sight. But fortunately for me, it has led straight into one of my new favorite hobbies – the restoration and modification of Nintendo Game Boys.
Since starting, I have modified many different Game Boy models with new upgrades and aesthetics. The resources available for these classic handhelds are staggering, ranging from rechargeable battery packs to amplifiers that boost and enhance the audio quality of the system. But of all these upgrades, nothing breathes life into a Game Boy like a new display. Limited by the technology of the time, the original displays were usually unlit, bringing back fond memories of playing them under lamps or by backseat car lights. In this day and age however, these handhelds deserve better and, more importantly, so do their libraries.
Enter Retro Modding. While there are plenty of sites available to source upgrades and replacement parts for your old console/handhelds, I have yet to find another company that matches their selection, service, and quality. They provide any part you could ever want and offer a fully customizable console service if you would rather they do it for you. Through their store, I modded several GBA SP models in 2019 and reached out to them about the new Funny Playing backlit IPS displays for the Game Boy Color that have just recently hit the market. They were kind enough to send me an upgrade kit with a precut shell for the install.
The Install
Firs things first, Retro Modding has a step by step install guide. Make sure to use it as you move forward. I also highly recommend getting your shell precut by Retro Modding. It’s an additional fee, but well worth the money unless you feel confident in your ability to modify the shell yourself.
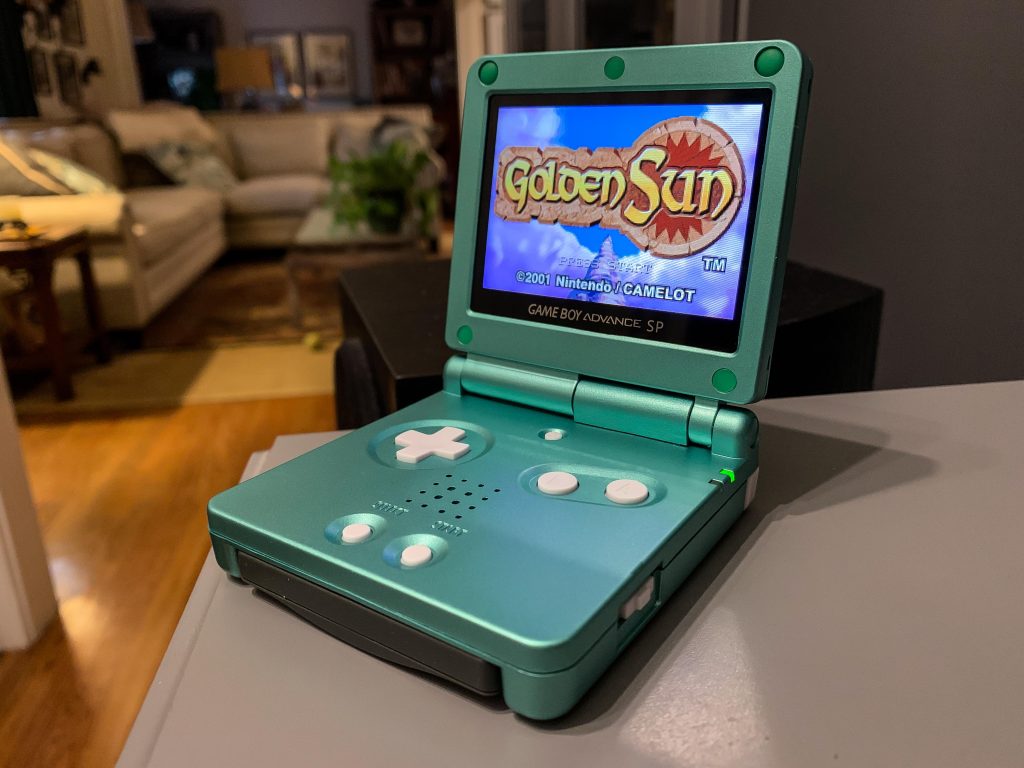
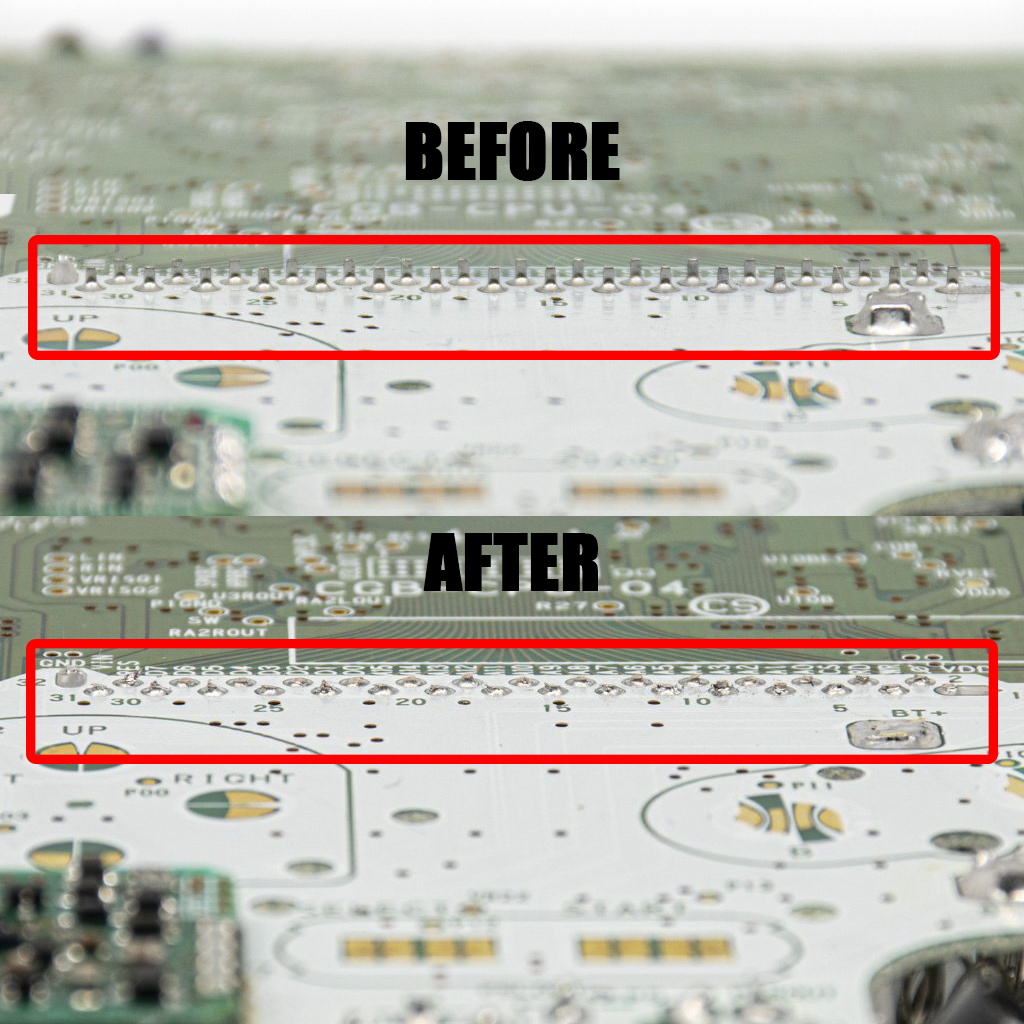
Probably the greatest thing about the new Game Boy Color IPS display (besides the result) is the simplicity of the install. For my previous GBA SP screen modifications, there was a small amount of soldering that needed to be done in order to fully utilize the screen and it’s different brightness settings. The GBC install is solder free and requires only the right size screwdriver and some fingernail clippers.
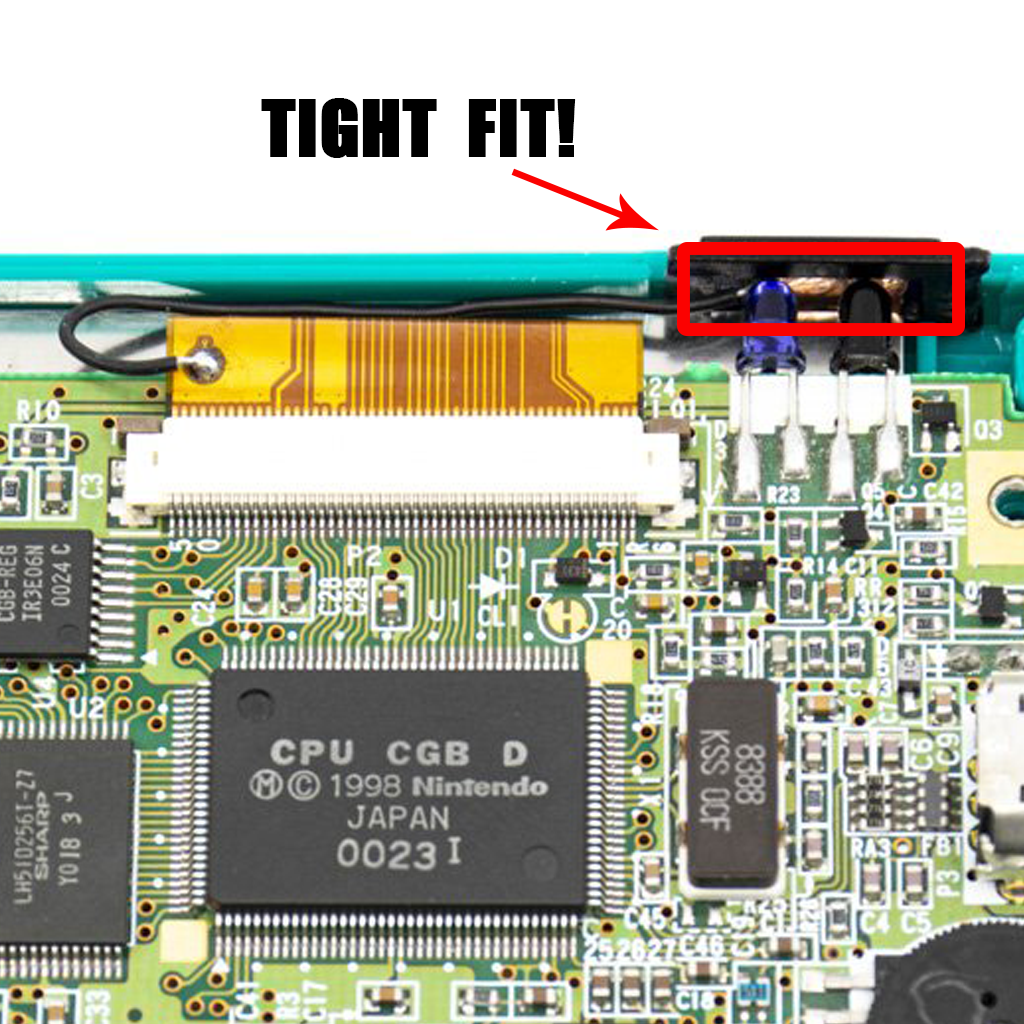
The hardest part of the install will be getting the touch brightness controller under the IR port. It is a tight squeeze between the top of the shell and the IR sensor so be careful as not to put oo much pressure on the LCD as you pop it in. I was able to get a satisfying click once mine fell into place, but as long as it sits flush you should be fine.
The Result
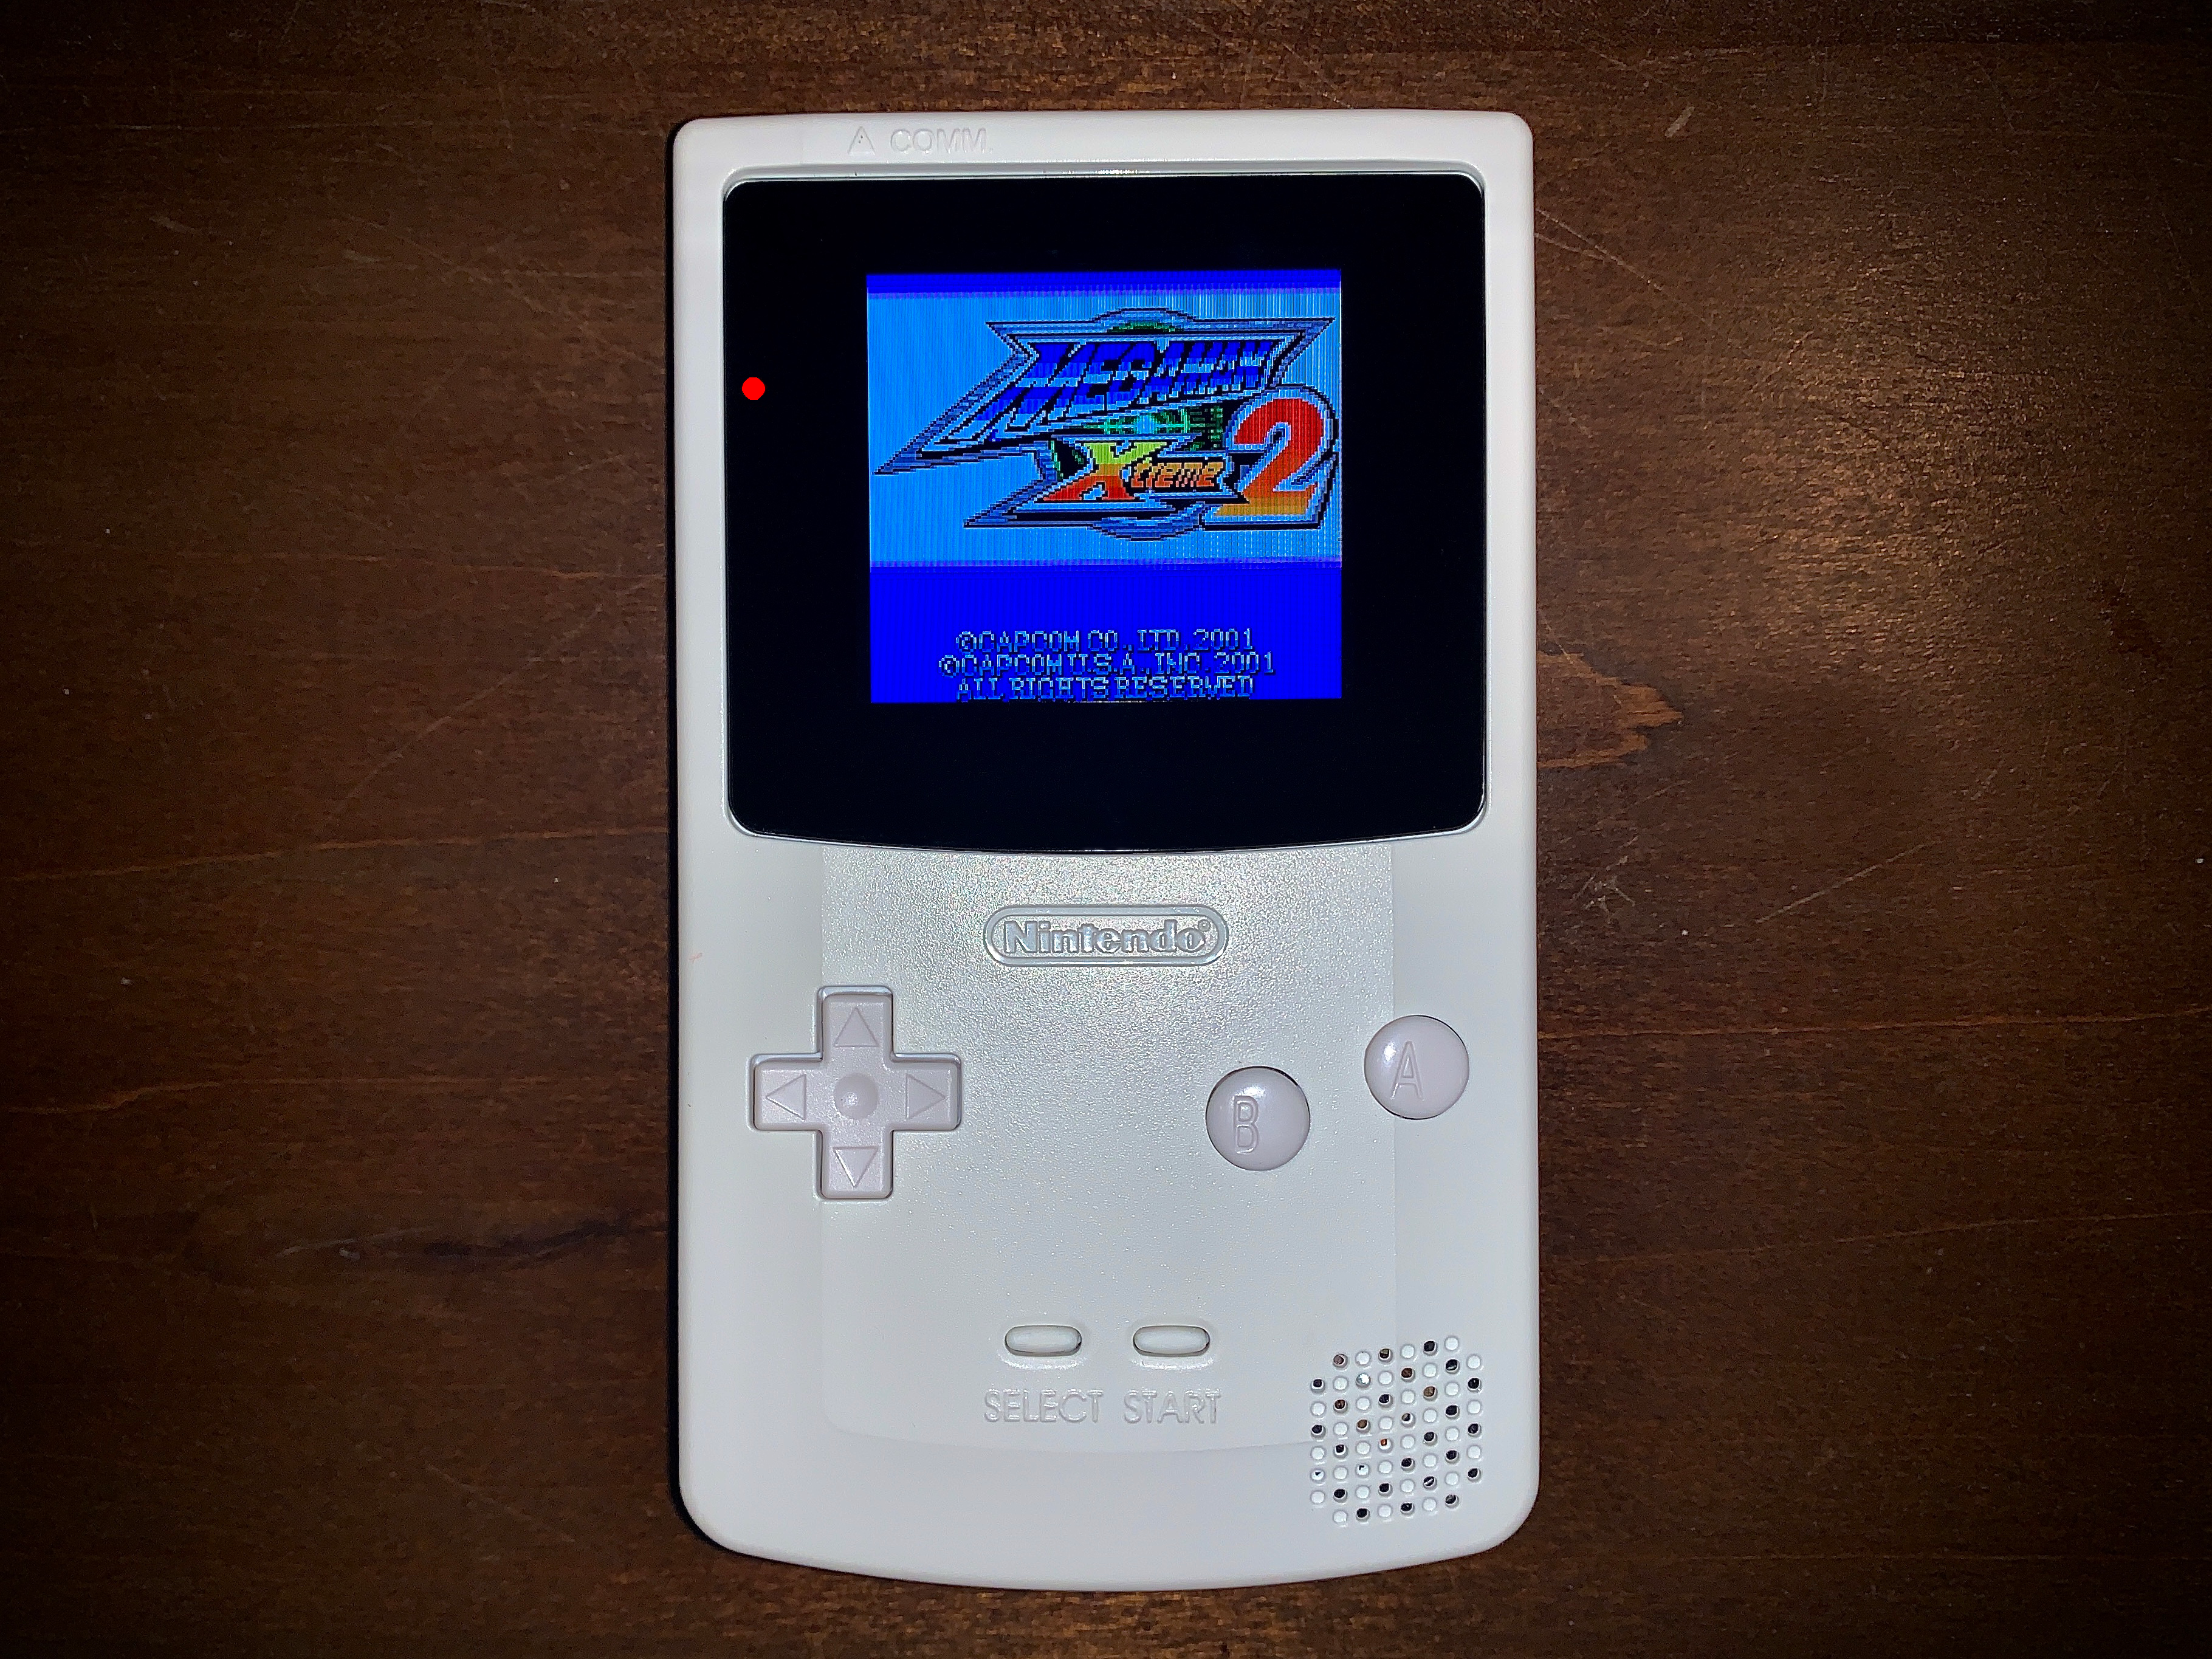
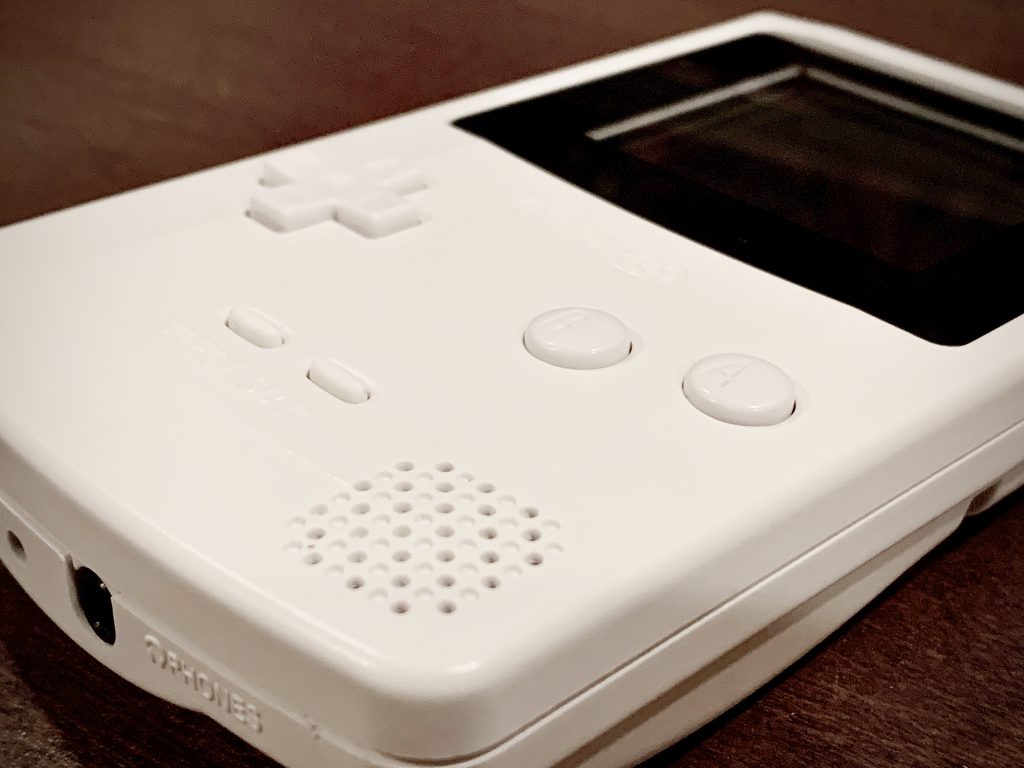
Quite frankly, I’m a little blown away by the results. Even after putting several hours into the IPS display, the clarity and sharpness it outputs still impresses me every time I see it. With the GBA SP, the original front lit display makes colors extremely washed out but you can still see the detail in most games. The GBC on the other hand has never had any kind of lighting built into its display so the IPS upgrade makes it feel like an entirely new system.

I am seeing color palettes and details I didn’t know existed in some of my favorite games. And I’ve played through them many times! I cannot express how dramatic the difference is, it really is stunning to look at. The colors explode off screen.
I cannot recommend this screen enough and I want to thank Retro Modding one more time for providing me the resources to install it. You can find them on Instagram and Twitter so be sure to check them out!